Hey there,
It’s Robin from CFD Engine & I’ve got a micro-tutorial for you this week:
Make your day-to-day ParaView sessions a little less repetitive by creating Custom Filters in just a few clicks.
State files are great for reproducing entire scenes, scripts are great for doing almost anything in batch (or as a macro) & custom filters are great for encapsulating those little filter combos that we end up building over & over again.
Do you have some repetitive mini-pipelines in your workflow? Ones that you use so often that you could build them in your sleep?
In a spirit of show-don’t-tell here’s an example of how to wrap a handful of filters into a single custom one – check it out…
Plotting Cp(Force)
I wasn’t sure what to use as an example & settled on something I call Cp(Force) the product of static pressure & local surface normals, normalised by freestream dynamic pressure.
It’s not exactly lift & drag, but it’s lot more intuitive (especially for clients) to be able to look at plots where “blue = good & red = bad” than to explain how to interpret static pressure contours directly.
Here’s a “drag” plot of the motorBike, along with the pipeline used to make it…
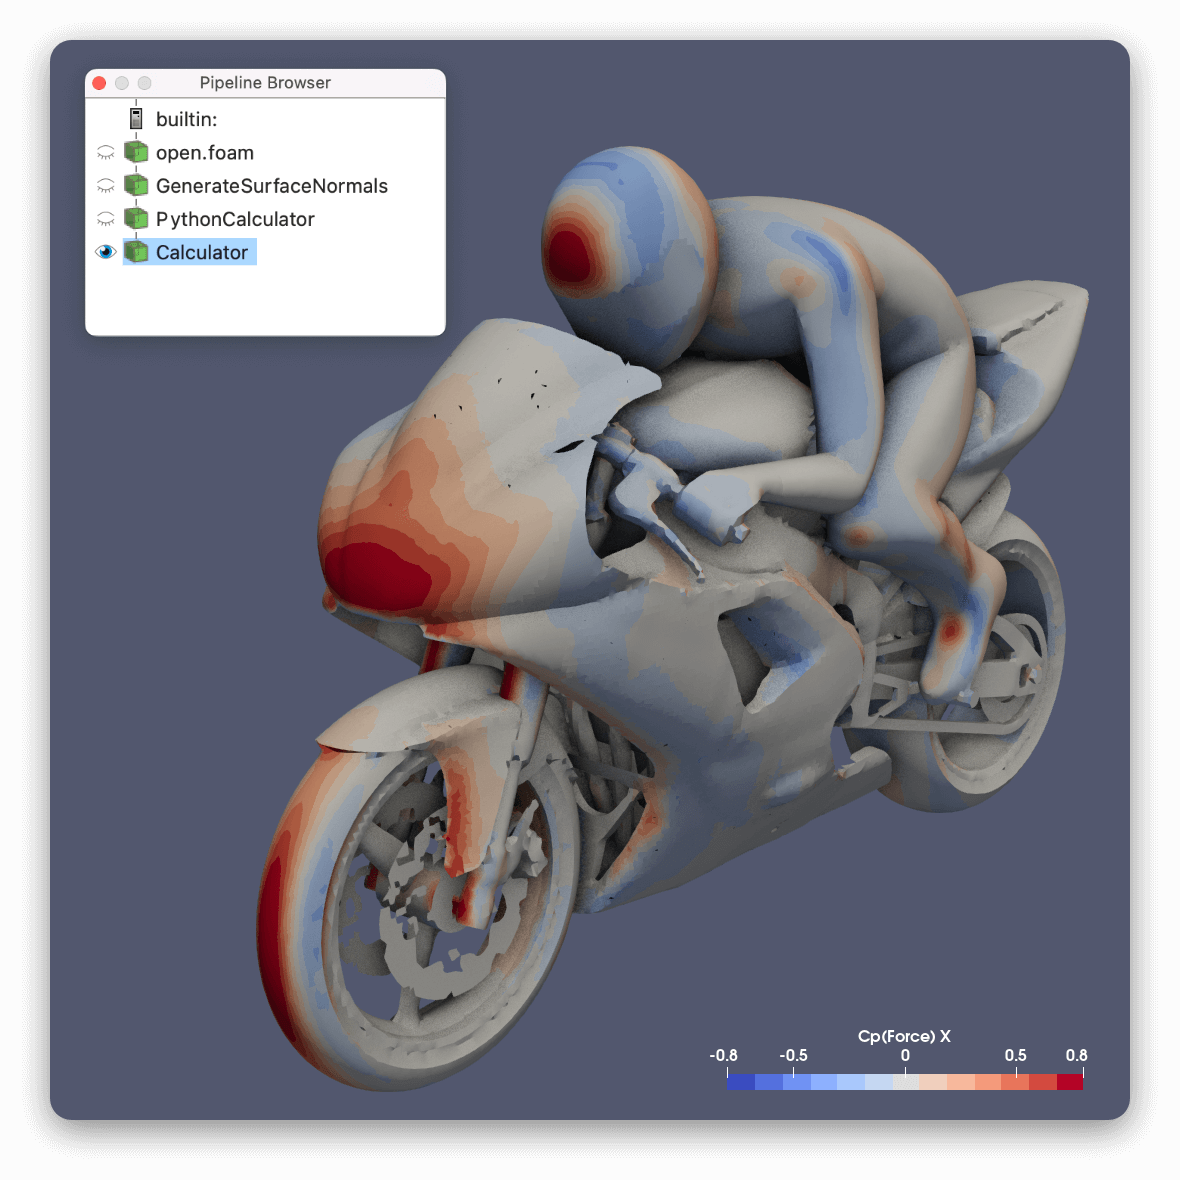
It’s pretty simple (just 3 filters) but it’s not exciting & there’s a chance I’ll get the calculation wrong – so why not wrap it up into a custom filter?
Side note
You need to have a good handle on how you intend to use your custom filter before you build it. They’re effectively black boxes once they’re defined.
In my example I want to be able to set the freestream velocity magnitude so I can use it on lots of different models. Therefore I added the Python Calculator filter to define a new freeStream variable, specifically so that I can expose it in my custom filter.
You can gain extra usability by making little tweaks to your pipeline like this, but you’ll see when you have a play with it.
Build Steps
Taking the above as our example – select the last three filters in the pipeline using shift-click, then right-click & select Create Custom Filter (or Tools > Create Custom Filter from the menu bar), this will pop up a new dialog box.
Choose a name
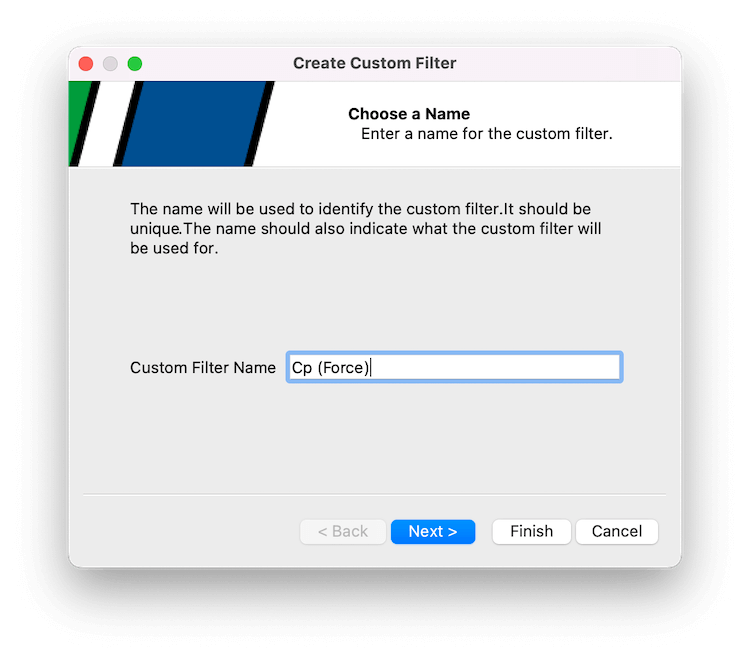
Give your custom filter a cool (or boringly descriptive) name & click Next
Define the inputs
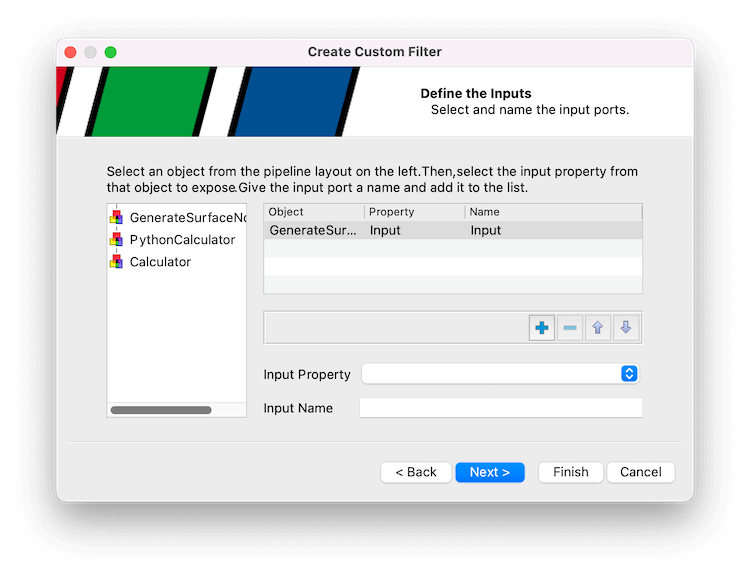
The above page prompts us to define the input connections to our custom filter, it should default to the first of our selected filters. You can probably just review it & click Next.
Define the outputs
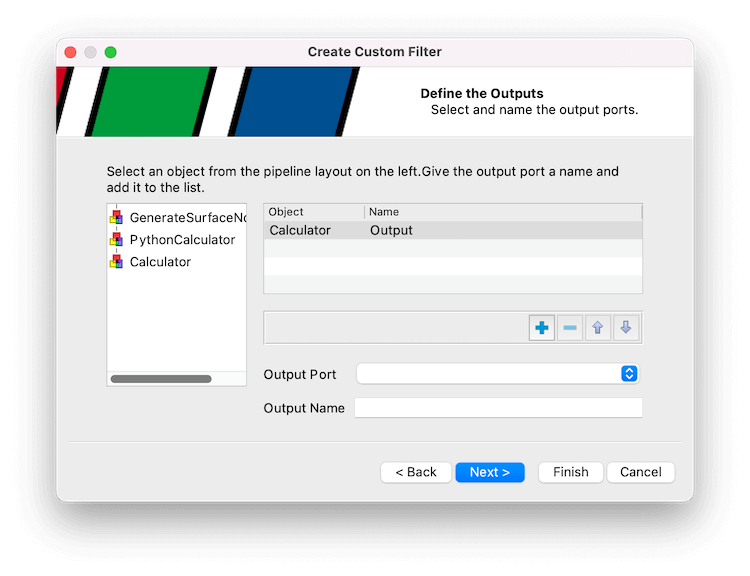
Same deal on the outputs page. In this simple example, the output is just the last filter in our selection & ParaView has picked it out for us – nothing to change, just click Next.
Expose some properties (optional)
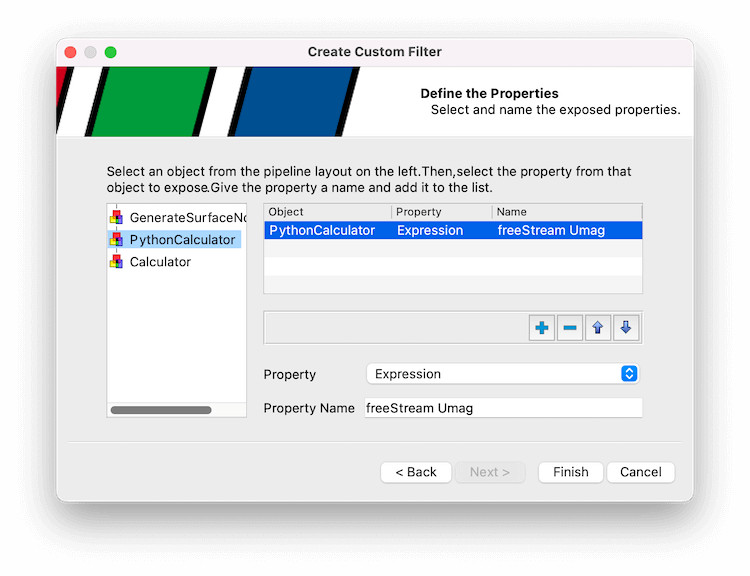
This is the last stage of building our custom filter & where we choose which properties to give access to. In this case I want to allow access to the Expression in the Python Calculator. Give it a name (this will show up when we use the custom filter), click the plus sign & we’re done (you could add more if you need them, but don’t go crazy).
Click Finish.
You’re done
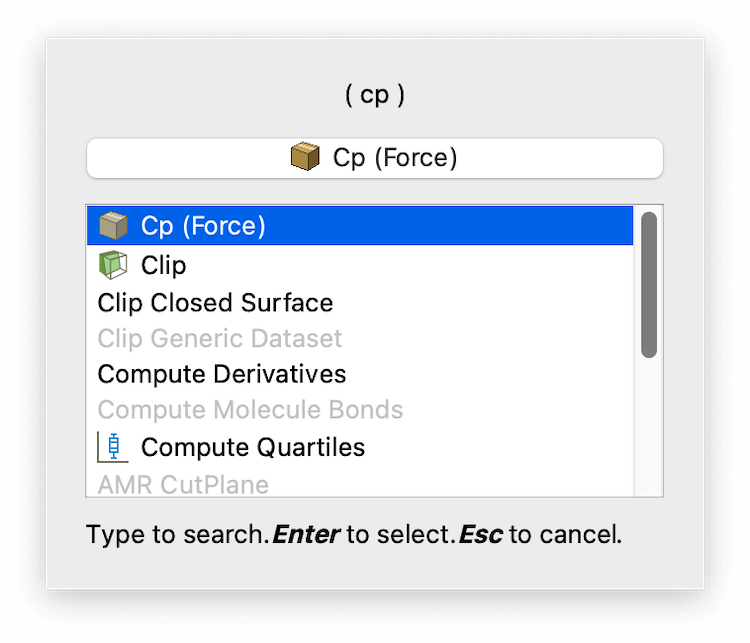
Our custom filter is now available with all the others & we can apply our mini-pipeline with just a single click from now on 👍
If you want to export, import or remove any of your custom filters then you can do so via Tools > Manage Custom Filters.
You can’t directly rename a filter – but you could export it, change the name in the resulting .cpd file (it’s on the second line) & then re-import it.
Your custom filter awaits
So that was ParaView Custom Filters in 3mins – somewhere between a state file & a script, they’re a great way to take a few clicks out of your day-to-day ParaView routine.
Do you already have a suite of custom filters? Or are they new to you? Do you have something in mind that could become your first one?
Let me know how you get on, or drop me a note with your idea for a super-awesome custom filter so I can steal it 🤫
Until next week, stay safe,
